1.12.2 Documentation
Click here for main home page.
Satellites
Satellites are the work horses of the mod. Their main purpose is to gather data for successful and lucrative asteroid mining missions, but they are also needed in power generation, biome scanning/terraforming and ore scanning.
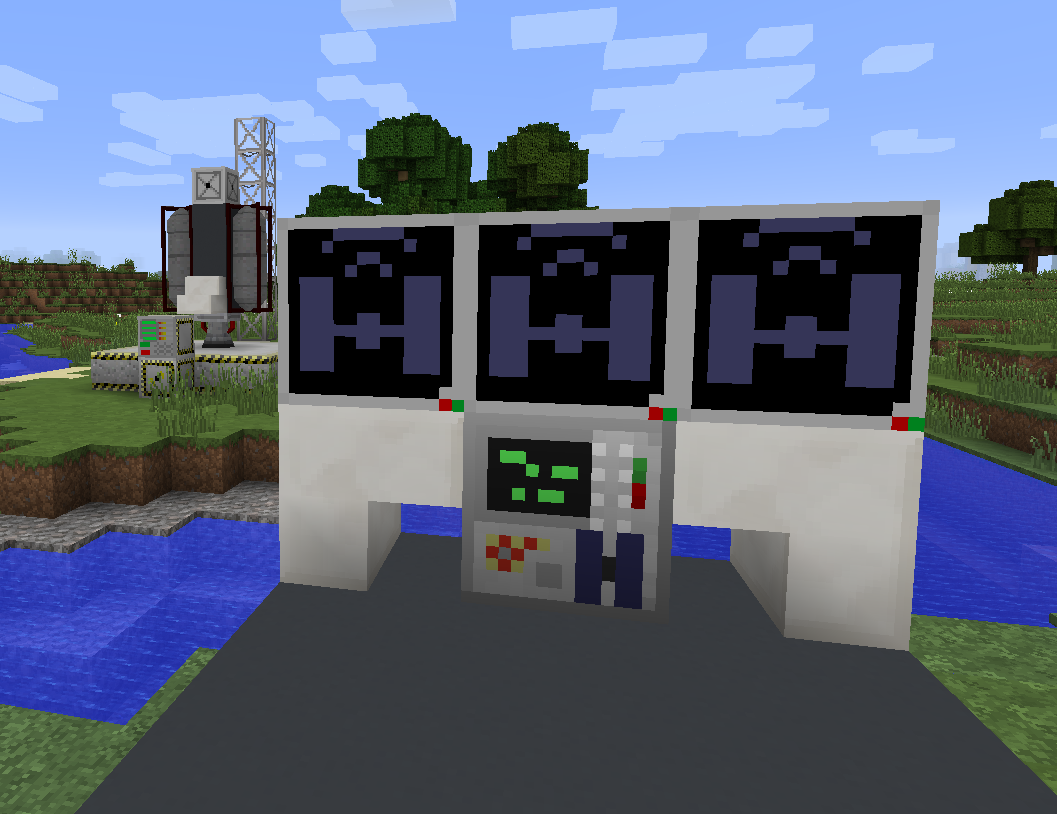
Step 1: Build the Satellite Assembling Machine
The Satellite assembling machine is a multi-block machine that requires a power input hatch block under it to operate. It's recommended to visit the link above and familiarize yourself with the GUI of this machine.
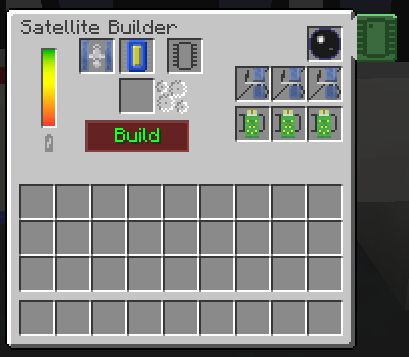
Step 2: Craft a Chassis and Components
Before you can place any parts in the assembling machine, you must have a satellite chassis in the top left slot. The top right slot of the machine is reserved for a satellite type component. This satellite type component determines what job the satellite performs. It can be one of the following:
- Optical Sensor - gathers distance data used in Asteroid Mining Missions. Requires a satellite ID chip in the left middle slot.
- Composition Sensor - gathers composition data used in Asteroid Mining Missions. Requires a satellite ID chip in the left middle slot.
- Mass Detector - gathers mass data used in Asteroid Mining Missions. Requires a satellite ID chip in the left middle slot.
- Microwave Transmitter - generates power to send to a Microwave Receiver. Requires a satellite ID chip in the left middle slot.
- Ore Mapper - scans the area around the player to find ores. Requires a Ore Scanner in the left middle slot. Click the link to read more about the requirements for this satellite to increase its efficiency.
- Biome Changer - scans the planet and records its biomes. Requires a Biome Changer Remote in the left middle slot.
Step 3: Add Power and Data Storage
The top row of slots on the right is reserved for power generation. All satellites require a solar panel to operate. In some satellites, the more power generation the greater its effects. It is recommended to fill all three slots. The bottom row is for power or data storage. Power storage is primarily for the Microwave Receiver satellites and uses batteries. The other satellites need Data Chips to store the information they process.
Step 4: Build the Satellite
Once you have Steps 2 and 3 completed and have placed an id chip or link in the left middle slot, you can build the satellite. The picture shows a completed satellite used for gathering distance data. Pressing the "Build" button will produce a new satellite item and if you hover over it in your inventory you can see all the information regarding the satellite. You will also see that the id chip has been programmed with the ID of the newly made satellite and a description of the type of satellite.
Step 5: Copy the Chip
PLEASE COPY THE ID CHIP. Once the satellite is launched, there is no getting it back so the ID chip is your only link to that satellite. To copy it, place a blank ID chip (or ore scanner/biome changer remote) in the right-most slot of the top left-hand side. Place the programmed chip in the middle left slot and press the green "Write to Secondary Chip" button to the far right, outside the GUI.
Step 6: Launch the Satellite
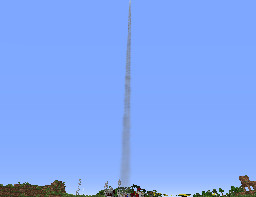
Its time to launch your satellite. Place the assembled satellite in a satellite bay on an assembled rocket. See Un-manned Rocket Launch for more details. Once your satellite is in space, you can use the programmed chips or ore scanner/biome changer remote. Click the links below for more information on how to use the satellite you launched:
- For data gathering satellites, see Asteroid Mining Missions
- For power gathering satellites, see Microwave Receiver
- For ore scanning satellites, see Ore Scanner
- For biome scanning satellites, see Terraforming